⚠️ Note:
Please configure Gateway / SIP Provider account, add Contact, and Voice Recording before going through these instructions.
Please configure Gateway / SIP Provider account, add Contact, and Voice Recording before going through these instructions.
Contents
hide
1. Create Agent through Admin / User Portal
- Visit: Admin Login
- Login as Admin and create an extension:
Path: Administration Menu ➔ Agent / Extensions ➔ “New Extension” button
Action: Enter Agent Name, Number, and Password, then click Save.
Action: Enter Agent Name, Number, and Password, then click Save.
2. Create Queue / Skill Group
Path: Administration Menu ➔ Agent / Extensions ➔ “New Extension” button
Action: Enter details, select “Skill Group” from the “Forward To” dropdown, select Agents for this Queue, and click Save.
Action: Enter details, select “Skill Group” from the “Forward To” dropdown, select Agents for this Queue, and click Save.
3. Assign Extension and Queue to User
Path: Administration Menu ➔ User Management
Action: Click the drop-down arrow under “OPERATIONS” for any user. Select agents and skill-groups, then click Assign.
Action: Click the drop-down arrow under “OPERATIONS” for any user. Select agents and skill-groups, then click Assign.
4. Agent Portal Steps
- Login as Agent from a different computer: Agent Login
- Enter Agent Number and Password.
- Click the “Ready” button from the agent phone portal.
- Once ready, you will hear background music.
5. Launch Agent / Interactive Campaign
- Go to Campaign Menu ➔ Campaign Management ➔ Add New.
- Select Agent / Interactive (Press 1) campaign.
- Enter Campaign Name, select Contact Group, and choose your Queue / Skill Group.
- Click Save to launch.
Note: When a recipient presses the required key, the call is transferred to a live agent.
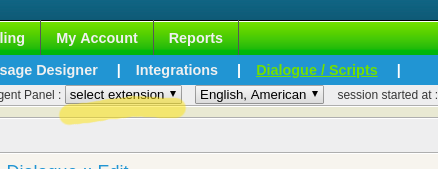
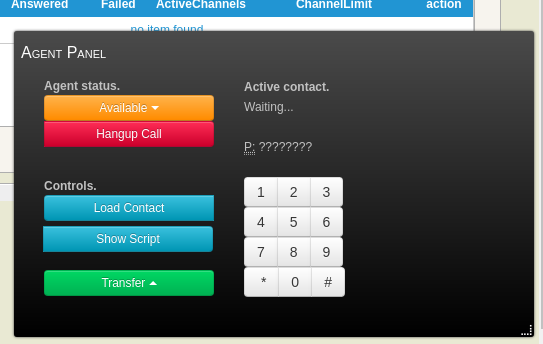
Using Webphone Features
Access the integrated webphone via the Agent Panel dropdown.
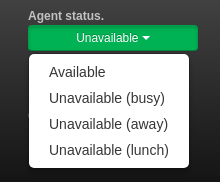
Set Agent Status
Change your status using the Status Button (Available or Leave).
Note: Only Available agents receive calls.
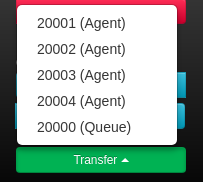
Call Transfer
Click the Call Transfer button and select the target extension.
Load Contact
Click “Load Contact” to view/edit prospect details within the ICTBroadcast internal records.
Keypad / DTMF Shortcuts
| Action | Key Sequence |
|---|---|
| Hangup | *0 |
| Call Transfer | #1 + Extension |
| Attended Transfer | #2 + Extension |
Related Content: