
ICTBroadcast Service Provider Tenant / Client Portal Guide
1) Overview
In ICTBroadcast SP Edition, a Tenant (also called Client) is the primary customer of the service provider. Each tenant operates their own isolated portal with independent users, campaigns, contacts, billing balance, and extensions. The Admin creates tenant accounts and assigns resources; tenants then manage everything within their allocated limits without seeing other tenants’ data.
2) Tenant Role Capabilities
- Create and manage User, Supervisor, and Agent accounts within their tenant
- Assign extensions and inbound DIDs to their users
- Monitor their billing balance and view payment history
- Create, launch, and monitor campaigns for their users
- Access all reports scoped to their tenant’s activity
- Configure tenant-level settings: time zone, language, and theme
3) Logging In as a Tenant
Tenants log in through the same portal URL as the admin. The system detects the tenant role and presents the tenant dashboard automatically. Your service provider admin will supply your login credentials.
Steps:
- Open your browser and go to your ICTBroadcast portal URL
- Enter your username and password
- Click Login — the tenant dashboard appears showing your active campaigns and current balance
4) Managing Users
As a tenant, you create and manage all accounts within your organization: Users who run campaigns, Supervisors who monitor agents, and Agents who handle calls.
I) Add a New User
Steps:
- Go to Administration → User Management from the main menu
- Click New User
- Enter a username, select the role (User, Supervisor, or Agent), and set a password and PIN
- Fill in personal contact information: email, first name, last name, phone number
- Select time zone and language
- Click Save — the account is now active under your tenant
II) Assign Extensions to Users
Extensions allow users to make and receive calls. Assign an extension to each User and Agent account.
Steps:
- Go to Administration → Client Management
- Find your tenant account and click Assign Extension from the operations menu
- Select the extension from the available list and click Assign Selected
III) Assign Inbound DIDs to Users
Inbound DIDs are the phone numbers callers dial to reach your campaigns. Assign a DID to each user or campaign that needs an inbound number.
Steps:
- Go to Administration → Client Management
- Find your tenant account and click Assign DID from the operations menu
- Select the DID from the available list and click Assign Selected
5) Billing & Balance
Your service provider allocates a credit balance to your tenant account. All calls, SMS messages, and fax pages consumed by your users deduct from this balance. Contact your service provider to top up when your balance runs low.
View Your Current Balance
- Your current balance appears on the tenant dashboard
- Go to Billing → Payments for a full history of credits and charges
View Your Rate Plan
- Go to Billing → Rate Plans to see the per-minute, per-message, and per-page rates assigned to your account
- Contact your service provider to request a different rate plan
Assign Resources and Time Limits
Your service provider may restrict the timeslots during which your users can run campaigns (for example, business hours only). View your assigned timeslots in Administration → Client Management → Assign Resources.
6) Campaign Management
Tenants can create and manage campaigns directly, or allow their users to create campaigns within their allocated resource limits. All campaign types available on your service plan are accessible from the Campaign menu.
Supported campaign types include: Voice Message, Voice Agent, Voice Interactive (Press 1), Voice IVR, Voice Survey, Appointment Reminder, Fax, SMS, and Email. Refer to the ICTBroadcast User Portal Guide for full step-by-step campaign creation instructions — the workflow is identical for tenant and user accounts.
7) Contacts
Tenants manage a shared contact library available to all their users. Contacts are organized into groups that campaigns dial.
- Add Contacts: Administration → Contacts → Add New, or import from CSV
- Contact Groups: Organize contacts into named groups for campaign targeting
- DNC List: Upload or manually add numbers to the Do Not Call list to exclude them from all campaigns
- Custom Values: Use Custom Value 1–8 fields on each contact to store account numbers, lead scores, territory codes, or any other business-specific data
8) Reports
All reports in the tenant portal are scoped to your tenant’s activity only — you cannot see other tenants’ data. Go to Reports from the main menu to access:
- CDR Summary: Chart view of answered vs. unanswered calls per campaign
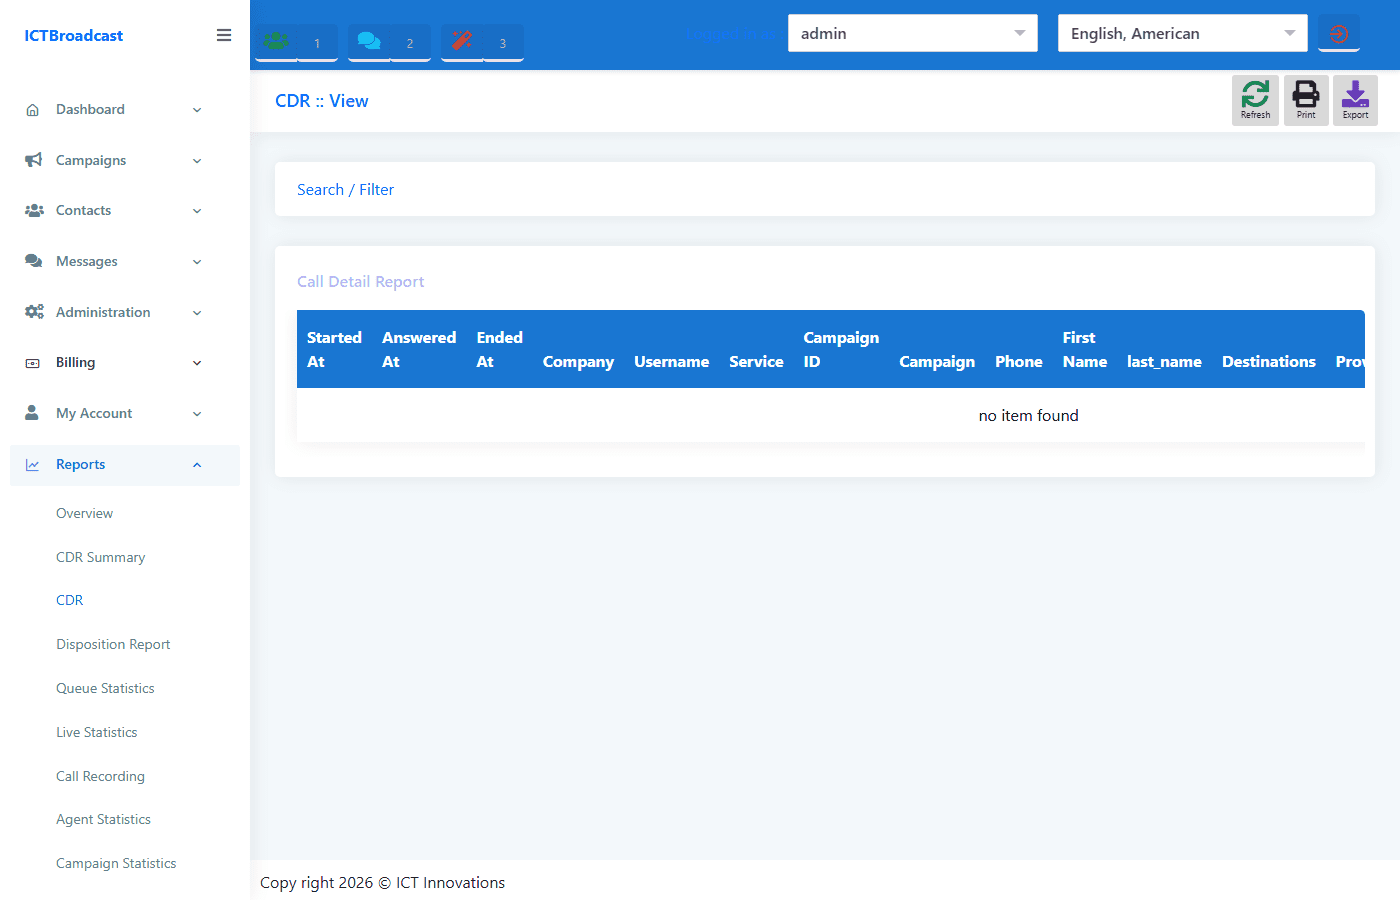
- CDR: Detailed call-level log with duration, cost, and disposition
- Live Statistics: Real-time view of all currently active calls
- Agent Statistics: Session summaries for each agent (login time, talk time, answer speed)
- Disposition Statistics: Breakdown of call outcomes and break time per agent
- Report Builder: Create custom CDR reports by selecting specific fields and filters
- Campaign Statistics: Per-campaign performance summary
9) Agent Evaluation
Tenants can create evaluation forms, score agent calls, and review performance through the Evaluation Summary. Refer to the Supervisor Guide for detailed evaluation steps — tenant accounts have the same evaluation tools as supervisors.
10) Account Settings
Change Password
- Go to My Account → Change Password
- Enter your current password, new password, and confirm
- Click Save
Update Profile
- Go to My Account → My Account
- Update personal information, time zone, language, and theme
- Click Save